Saved report options
DM
You can access report options one of the following ways:
- When you save a report, its page appears so you can configure it further.
- When you click the pencil icon next to a report in the Saved Reports list.
This page enables you to configure your report options by adding schedules, defining share settings and download preferences, and updating report criteria.
Change the report title
You can update the title or description of a saved report. Hover over the text click the pencil icon. A text box displays so you can make your updates.
Set a report schedule
You set a schedule for a report by selecting the Enabled checkbox in the Schedule section.
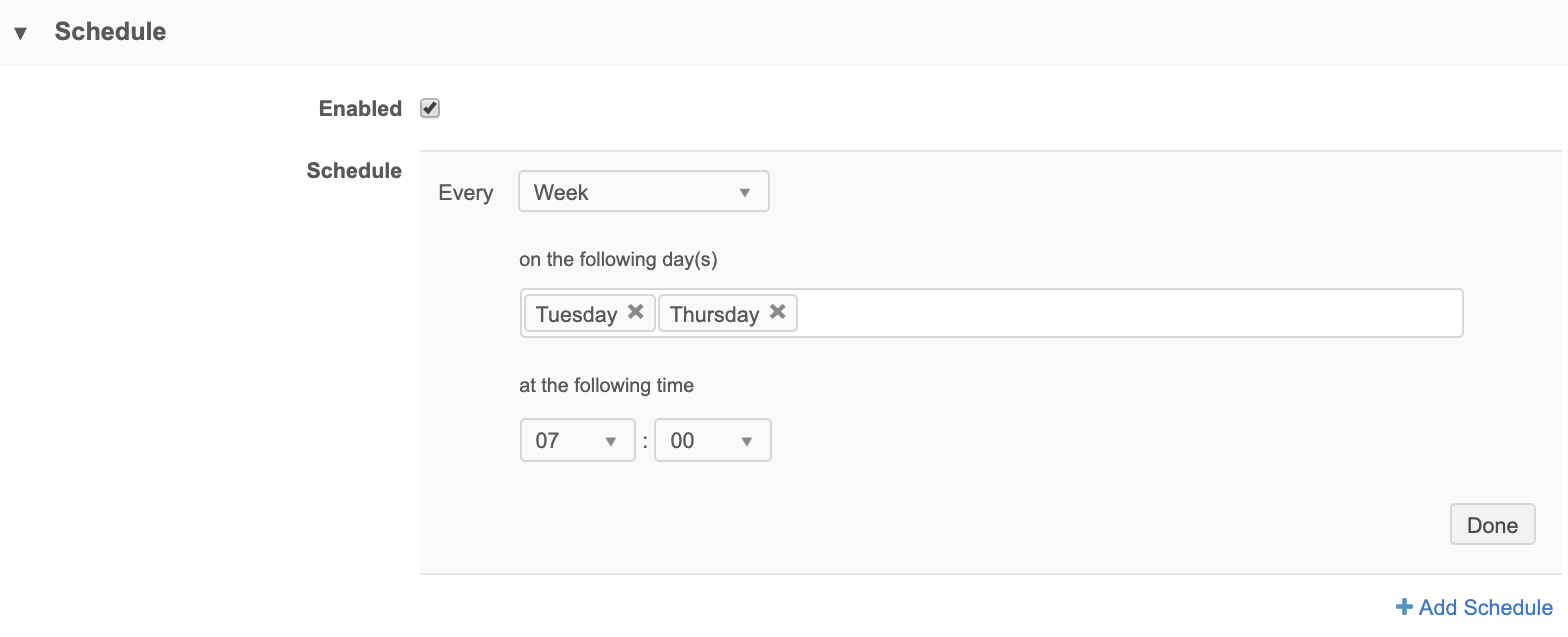
You can configure multiple schedules by clicking the +Add Schedule link, using the following values to schedule by:
- Hour - Runs the report every hour, at the specified number of minutes past the hour.
- Day - Runs the report every day, at the specified time of day.
- Week - Runs the report every week on the specified days, at the specified time of day. Type one or more days in the field.
- Month - Runs the report every month on the specified days (for example, 7th and 21st) at the specified time of day. Type one more days (by number) in the field.
- Year - Runs the report every year on the specified day (for example, 1st) of the specified month, at the specified time of day.
Share a report
You specify viewers and editors for a report in the Share Report section. Viewers can run and copy the report, while editors can perform those actions and can also edit or delete the report.
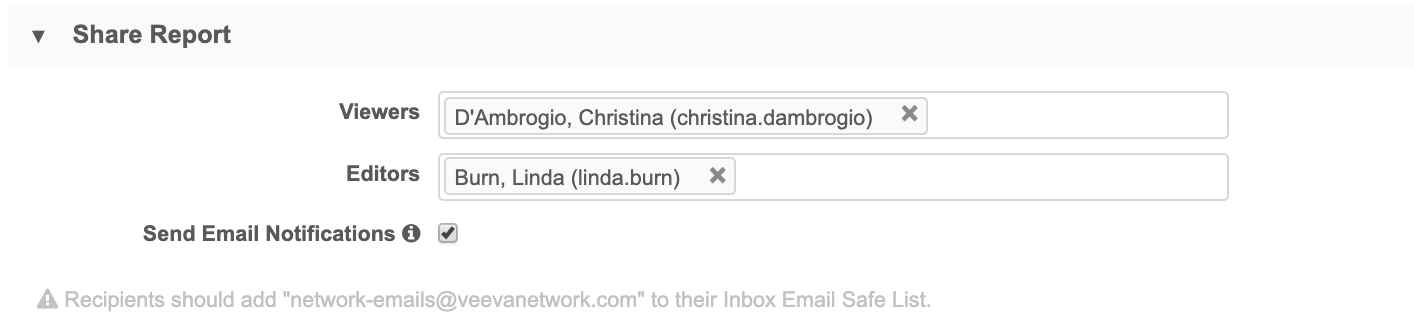
To ensure that viewers and editors receive email notifications when the report is run, select the Send Email Notifications checkbox.
Note: Recipients should add network-emails@veevanetwork.com to their email inbox safe list.
Report creator
The user that created the report will automatically receive email notifications about the report. The creator cannot be changed. If you created a report but you want to stop receiving notifications, ask another user to re-create or clone the report so your report can be deleted.
Report download preferences
You configure download preferences for a report in the Download Report section.
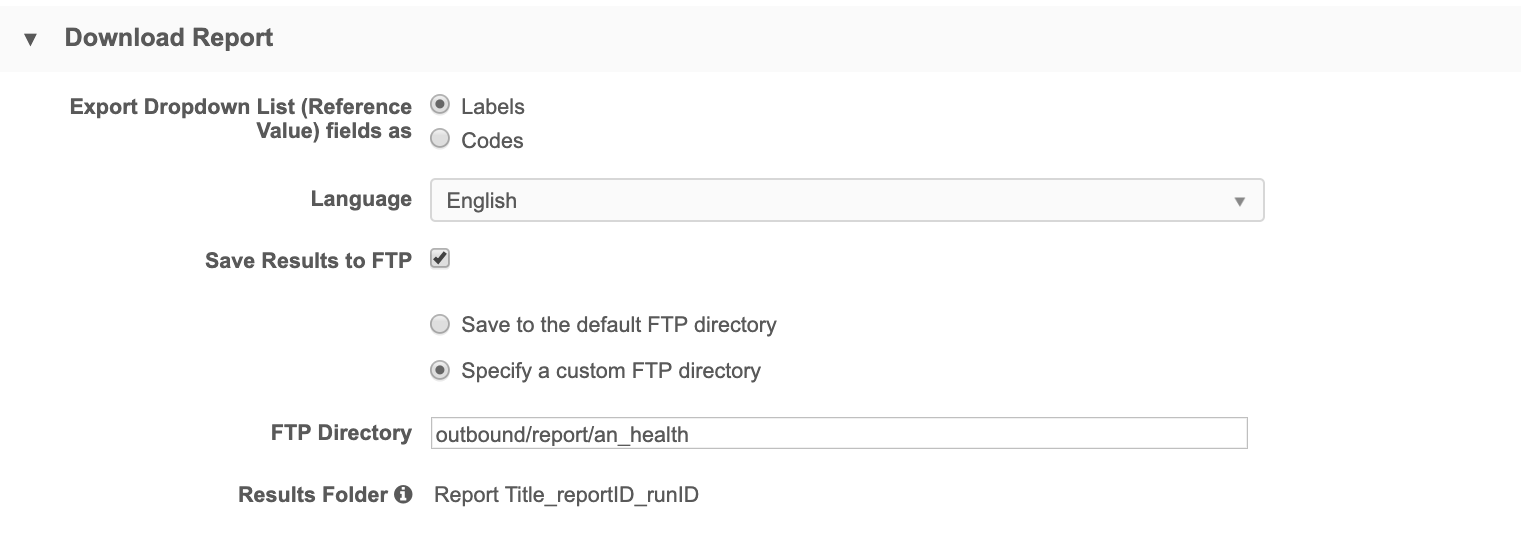
You can configure the following for report downloads:
- Reference field export - Specify whether reference codes appear in the results, or their corresponding localized labels. Labels will appear in the language you select from the drop-down list.
- Save to FTP - Select the checkbox to save results to the FTP server for your Network MDM instance each time the report runs. This option saves it to the location you choose:
- default - Saves the results to the default directory, outbound/report.
- custom - Saves the results to a directory you specify.
Specifying a directory enables you to start subscriptions and retrieve the report results directly from your specified directory; for example, you can run a target subscription using the report results to export the data to downstream systems.
A results folder is created in the FTP directory each time the report runs.
Downloading reports to use in subscriptions
Reference values can be exported using codes or labels.
-
Codes - Use if you download a report to use in a source or target subscription.
When the report is downloaded, the column headers will be the field names (for example,
vid__vandfirst_name_v), which your subscription can easily process. -
Labels - Column headers include the field and label (for example,
hcp.vid__v (Network ID)andfirst_name__v (First Name)), which subscriptions cannot easily process and might fail.
Tweaking the report query
The Build section enables you to tweak your report by updating the same criteria and settings you configured when you built the report or query.
Refer to the corresponding help topics for your report type:
Viewing the result history
The Result History section enables you to see past results for each time the report has run.

The history displays the run date, results status, and the FTP directory and folder, if specified.
You can download and view the results for each run by clicking the buttons at the right of each result. For more information on downloading and viewing results, see Working with query results.
Report exceptions
If an IO Exception error displays in the Result History section, click the tooltip beside the exception to view details about the issue. For example, if there was a permission error, a similar message will display:
User does not have permission to access table: change_request_address
