
Introduction
With the search widget, you have many options to customize the look and feel of the search widget. For this post, I wanted to go through some of the options you have when designing your integration with widgets:
Searching locally first vs using the search widget only
One of the questions you should ask is whether you want your users to search locally first or do all the searching within the Network search widget. Searching locally can be useful when most of the records are already in your patient services or if your users are dealing with the same set of records.
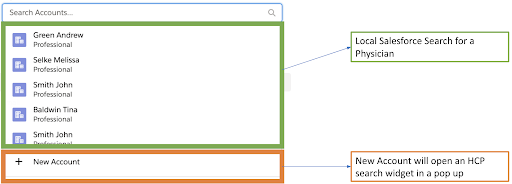
The diagram below shows an example of how searching locally works. When a user does a search, they will see records already in Salesforce. If the record the user is looking for is not in Salesforce, you can have a button such as “New Account”, that can be used to open the search widget in a pop-up.
Alternatively, if not all records are available in Salesforce, and you want more powerful searching capability, you can use the search widget as the only way to search for accounts. What we’ve seen from customers is they have a button called “New Account” or “Add Physician” to open the search widget.
Advanced search vs basic search
After figuring out the layout of the search widget and how it fits into your application, the next step is to design the look and feel of the search widget itself. For the initial search, you have two options here: Advanced Search or Basic + Advanced Search.
Advanced search
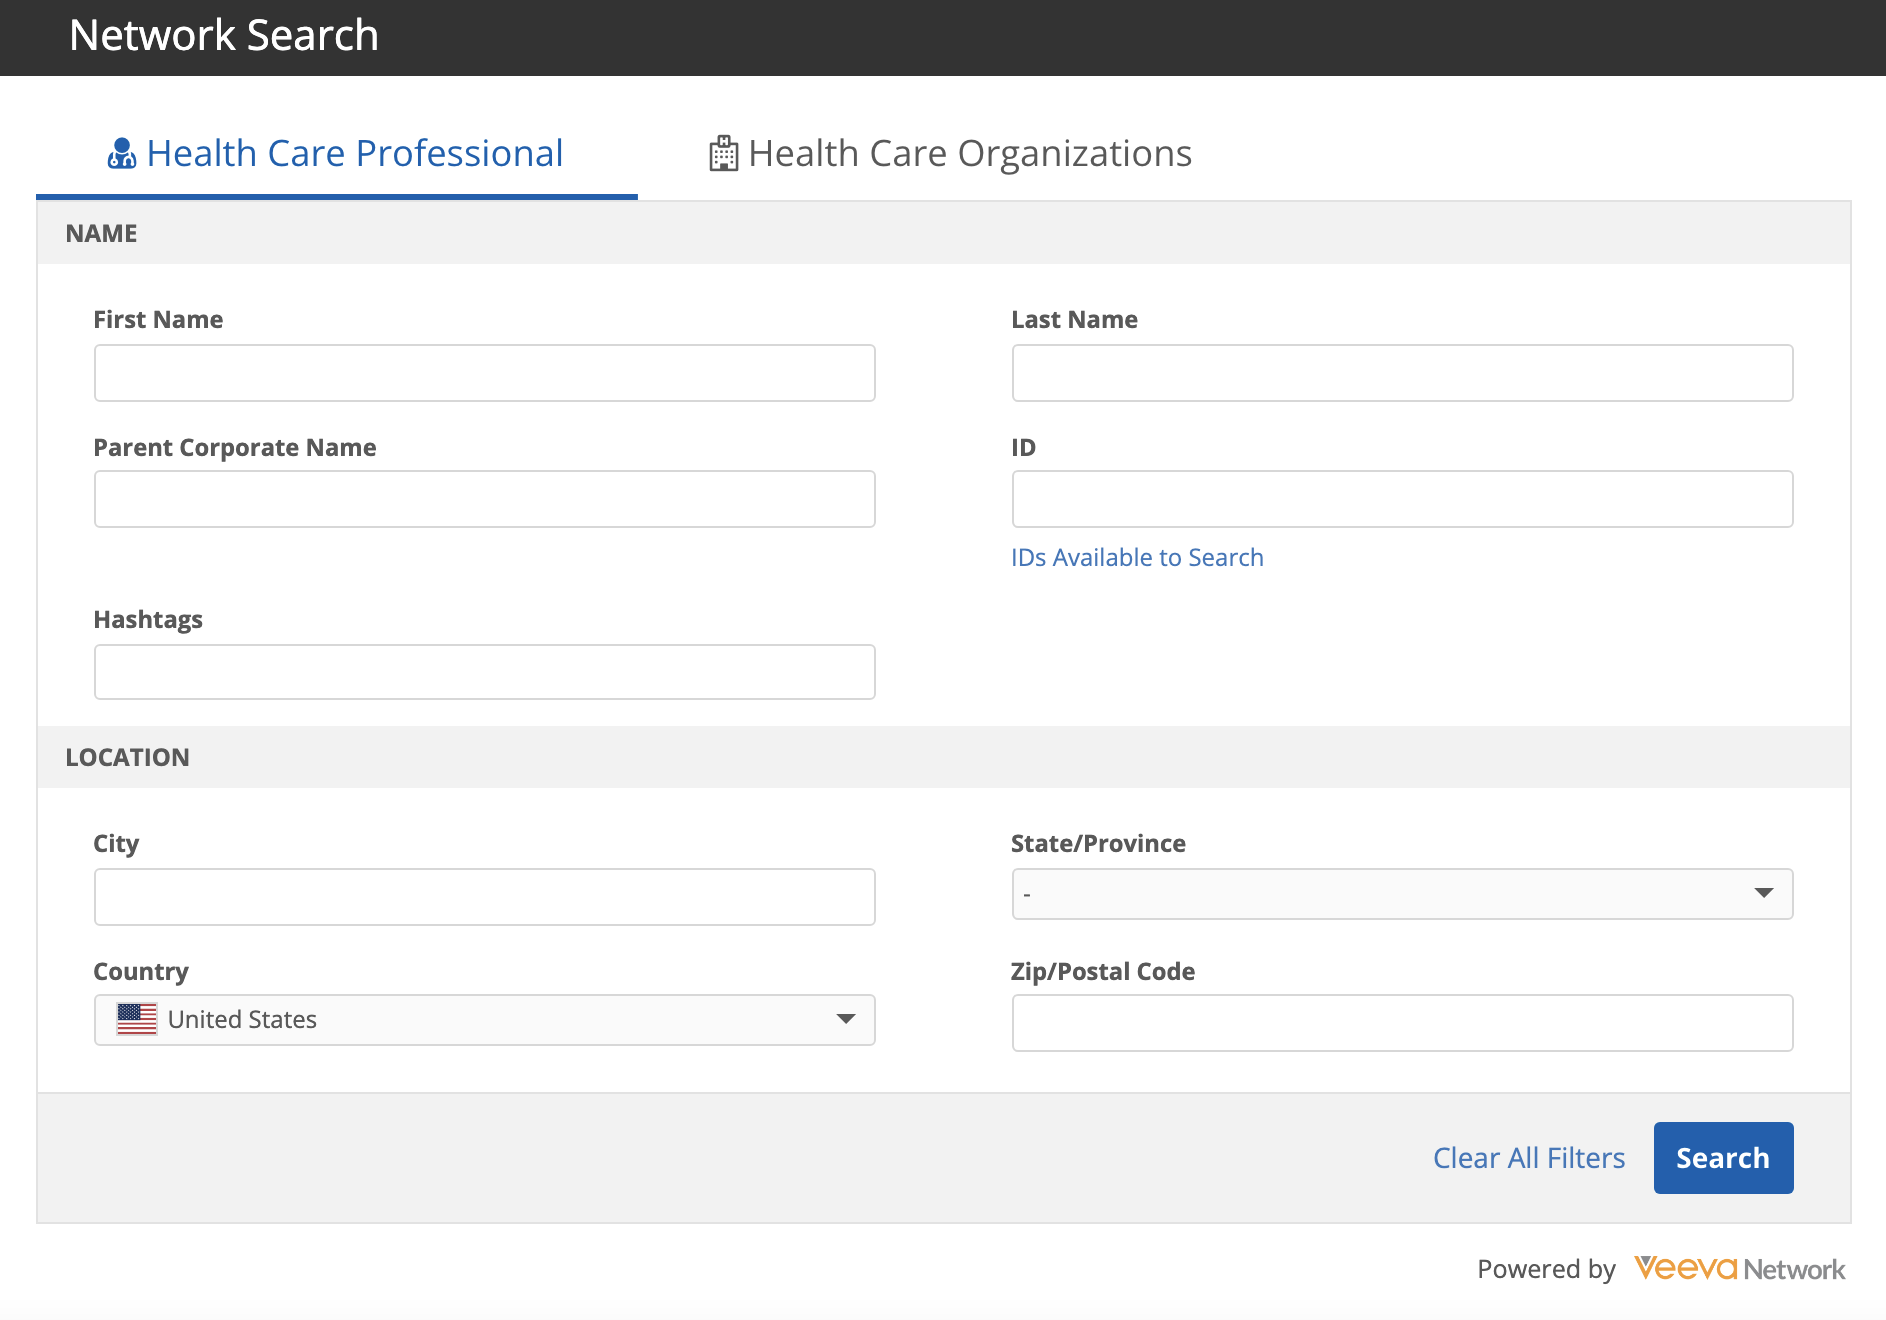
The advanced search can provide users with a form that you can customize. The form will help users know what they can search for, and will help them narrow their search down. A couple of the most useful additional fields you should add are: ID and Parent Corporate Name.
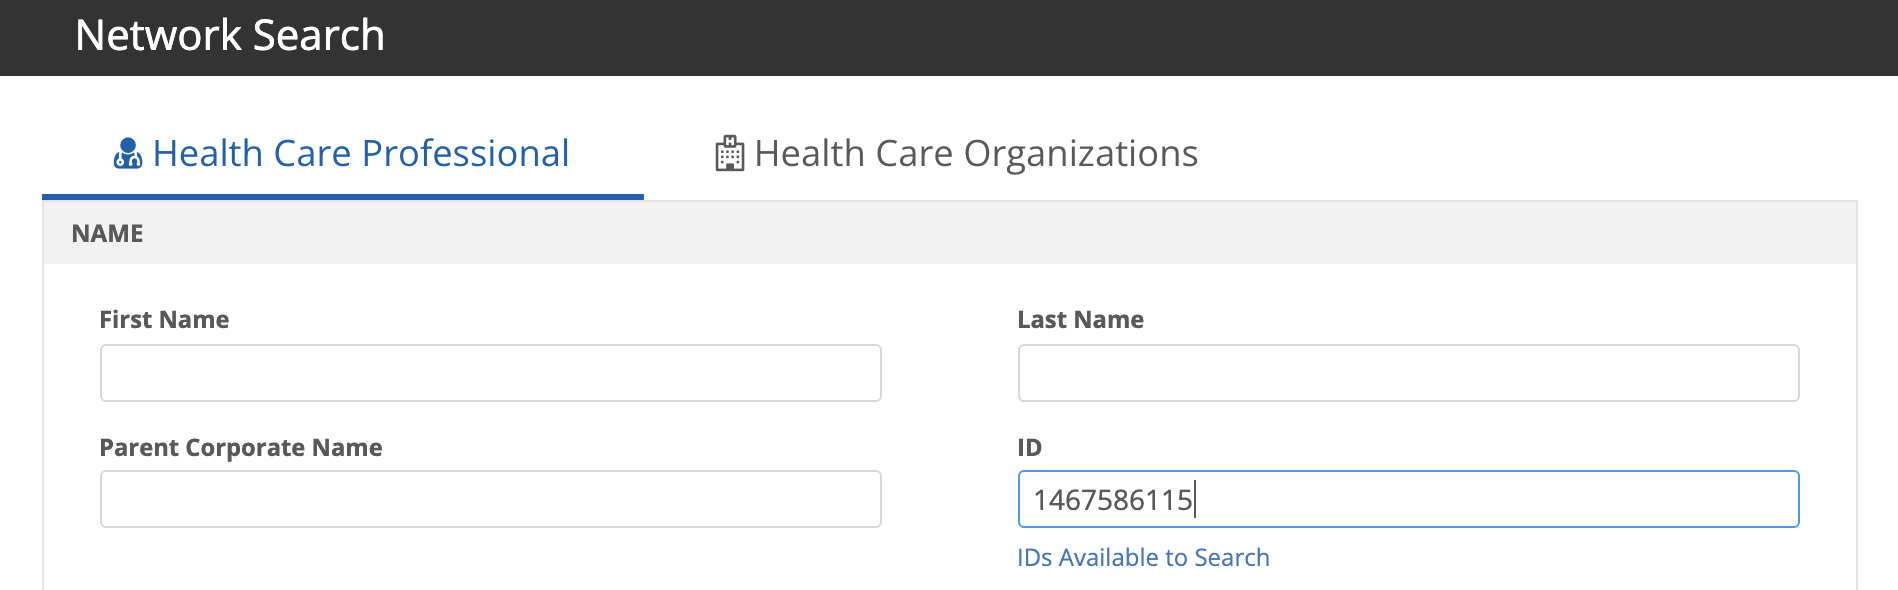
ID Search will allow your users to search on any ID field, such as NPI, Network ID, license numbers, and so on. Users can search for just the NPI number to find a record.
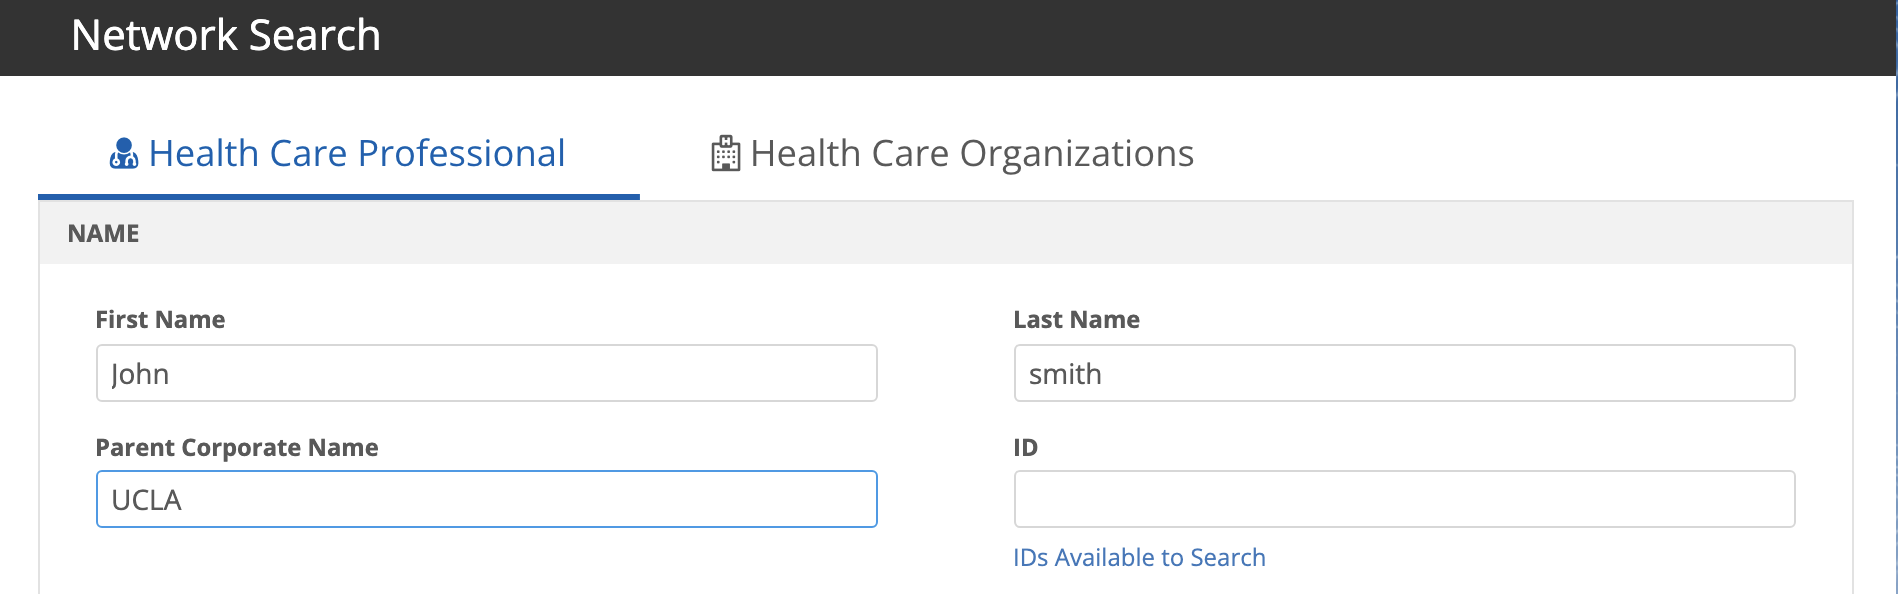
Parent Corporate Name will allow your users to look up records using the record’s affiliations. For example, I can search a John Smith at UCLA:
Basic search + advanced search
The basic search is very flexible as any field on the record can be searched against. This would be for more trained users that know what search terms will help them get the best record.
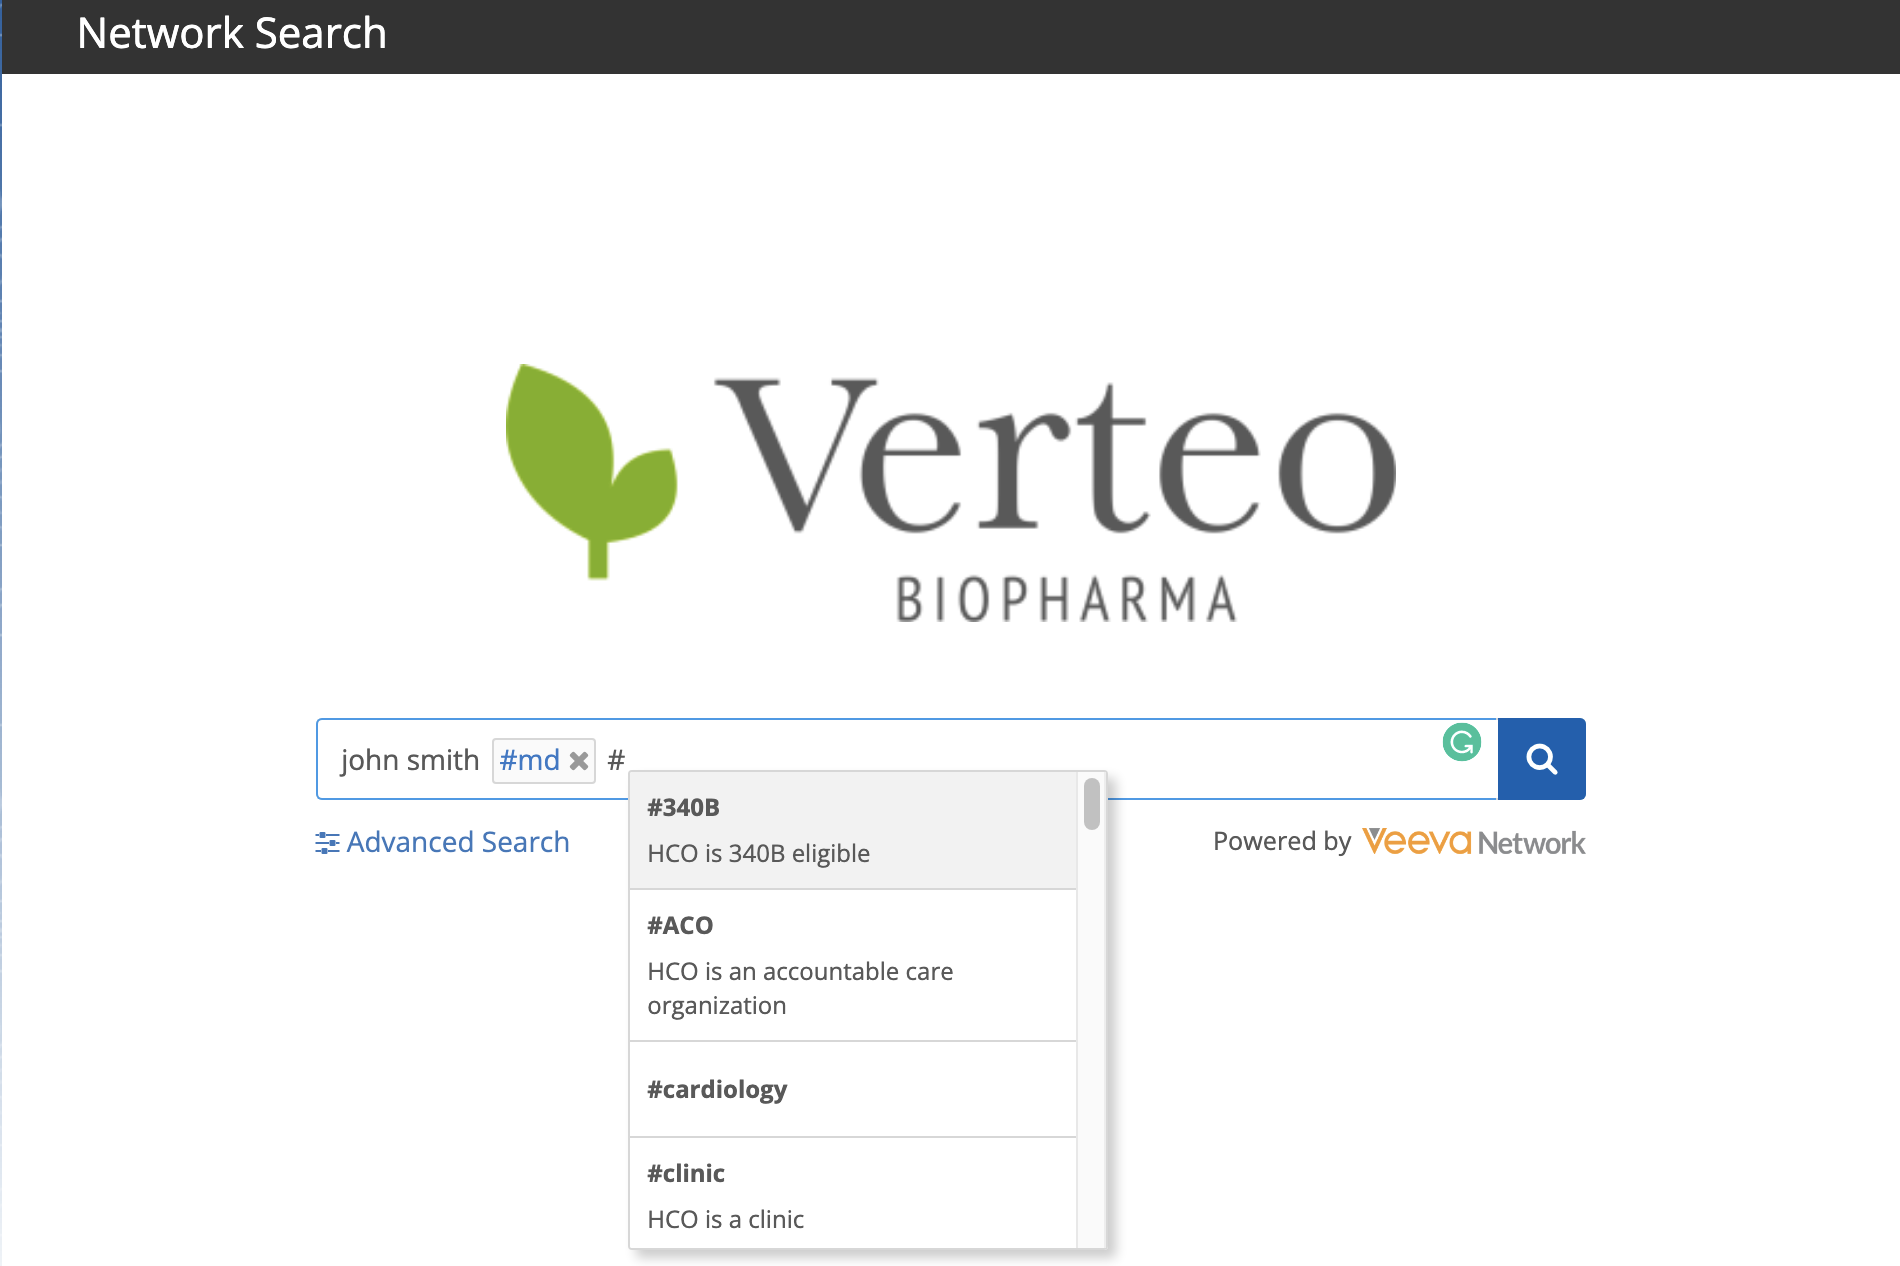
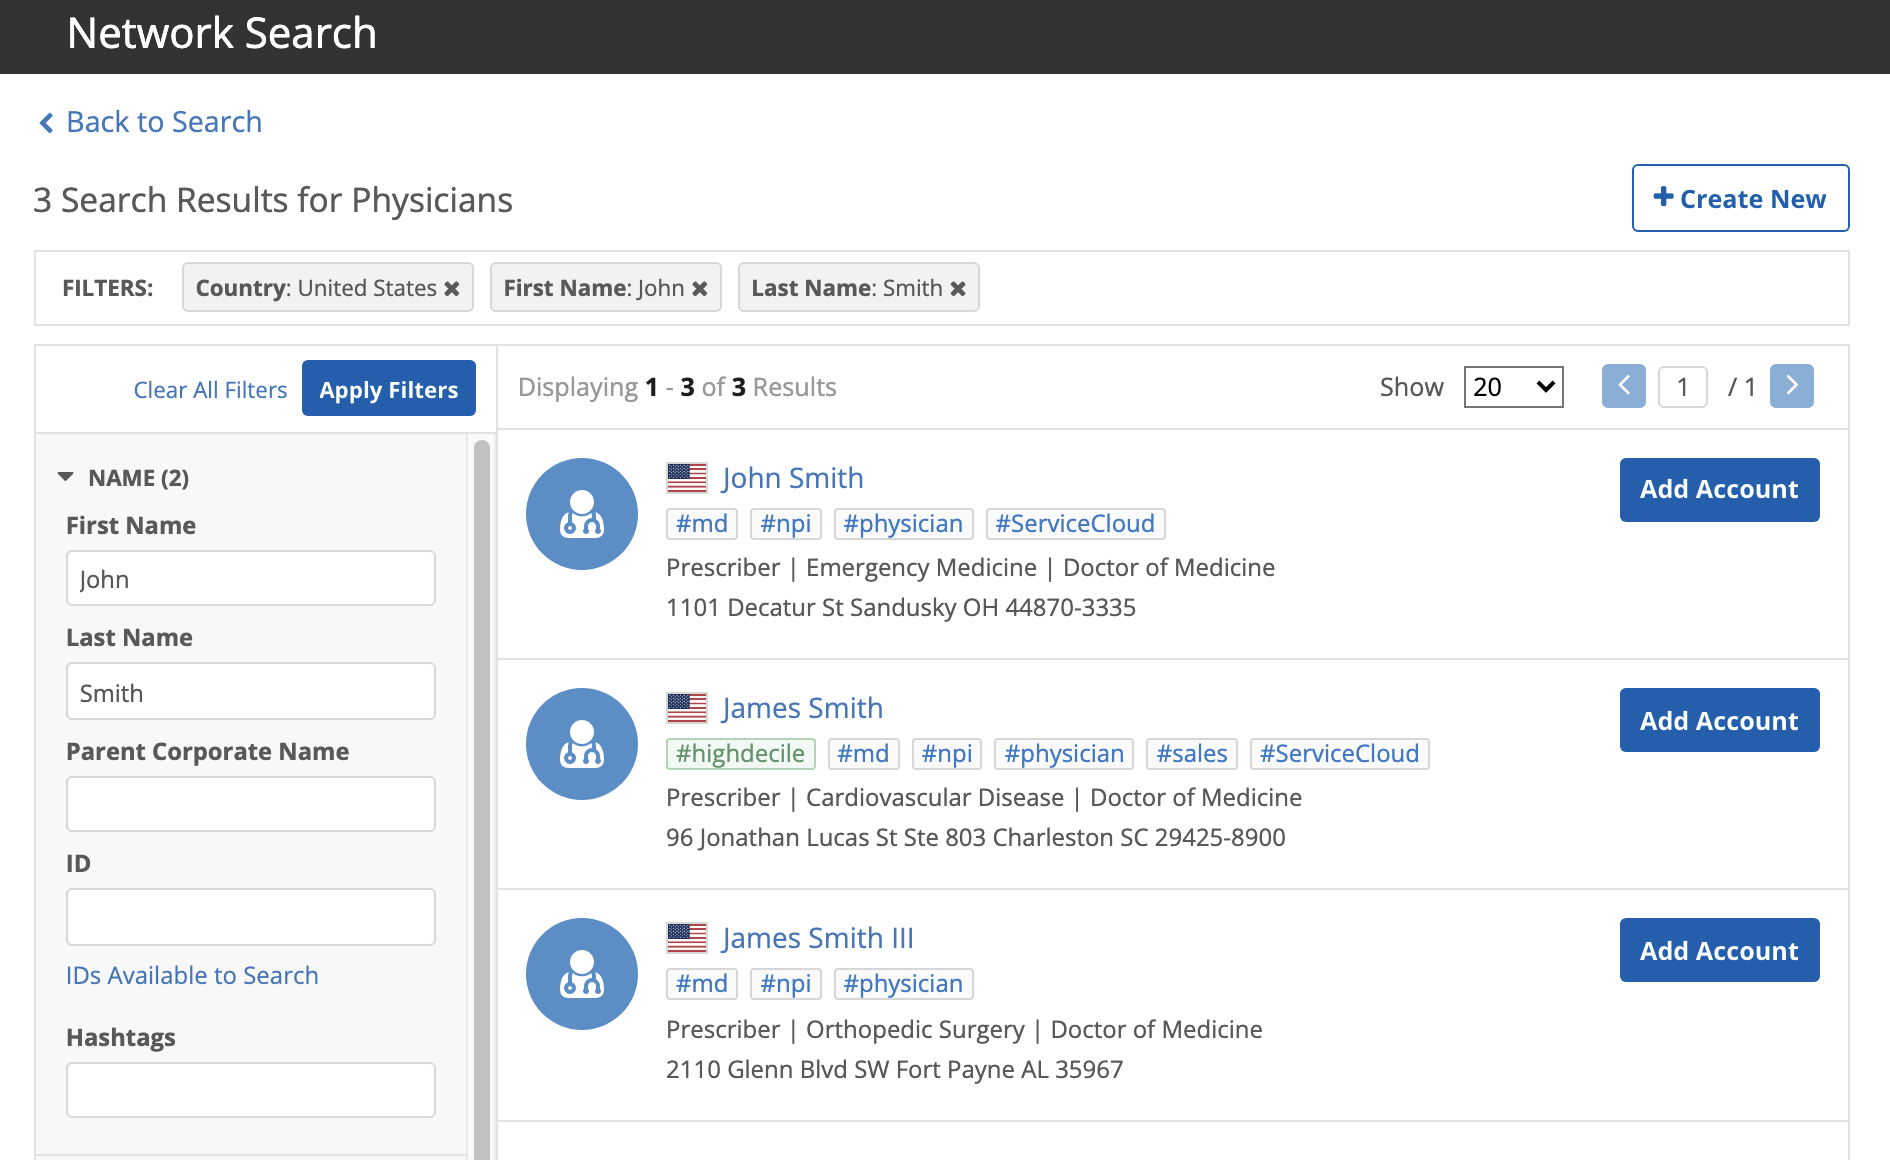
Users can also incorporate hashtags to help further filter the records in their search. In this case, I can find John Smith who has a doctor of MD by using #md. This will help further filter my results without the user having to use advanced search and filter on the degree field.
Filtering the search
There are times where you will need to filter the records that are shown in the widget. Some examples that customers have done is, having a widget that will only search physicians (MDs and DOs), pharmacies, and hospitals only. All of this is possible with the search widget.
The first thing you will need to decide is what records users are allowed to search for. Is it HCPs, HCOs or both? This can be modified in the widget configuration fairly easily. This is useful when you require the user to pick a particular record type.
The next question is, do you need to show a particular type of record (hospitals vs pharmacies vs clinics vs active HCOs)? To do this, you will need to leverage the preset-filter. This can help support use cases where you need to filter data behind the scenes. The example below is where we filtered the results behind the scenes to show only active HCPs that have a medical degree of MD or DO.
To filter records behind scenes, you’ll need to leverage the preset filter. This is a property that a developer can simply add to the code:
preset-filter="hcp.medical_degree_1__v=MD,DO&hcp.status__v=A"
See the following information in the online help for more information: