Using the Network Portal
DM
DS
ST
The Network Portal provides a way for business users to access Network MDM data through predefined or custom applications.
The Network Portal includes a predefined search application, Search Accounts, so users can find and edit HCP and HCO accounts in Veeva OpenData and your Network MDM instance.
The Network Portal is available in all Network MDM instances, but it is disabled by default. System Administrators and System and Data Admin users can enable the Network Portal.
Access to the Network Portal
The Network Portal is available to the following users:
-
Portal Users - A Network MDM user type that has access to the Network Portal but no access to the Network MDM UI.
These users can sign-in using their Portal Username and password.
-
Network MDM Users - Standard Users, Data Stewards, Data Managers, System Administrators, and System and Data Admin users.
Integration Users do not have access to the Portal; they have access only to the Network MDM API.These users can sign in using their regular Network MDM username and password.
Logging into the Network Portal
You can log into the Network Portal using the following methods:
-
Login page (unique URL)
-
Network MDM UI
-
Single sign-on (SSO)
Login page
Business users can log into the Network Portal using their Network MDM username, a Portal Username (for non-SSO customers), or through single sign-on (SSO).
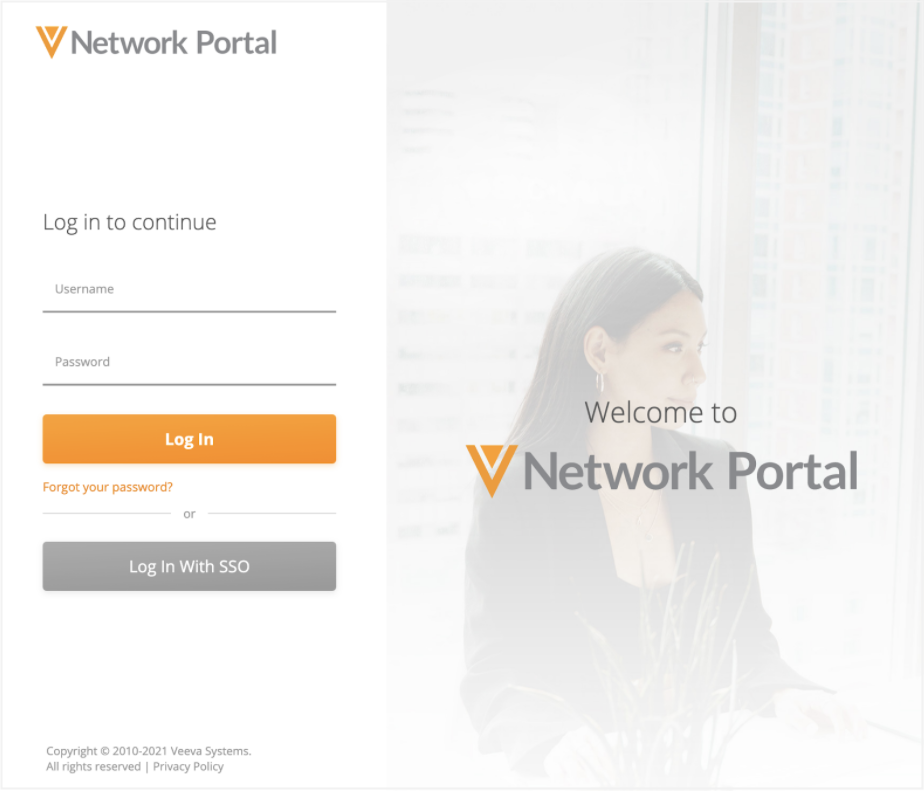
Portal Users and Network MDM users can reset their password on the Network Portal login page. Click Forgot your password.
Network MDM UI
When the Network Portal is enabled, Network MDM users can access it from their Network MDM instance if they have been granted permission to use it.
-
On the , click Network Business Portal.

The Network Portal will open in a new browser tab.
Single sign-on (SSO)
Users can access the Network Portal using SSO through the following methods:
-
SSO dashboard (for example, a Network Portal tile on an Okta® Dashboard) that is optionally configured by your SSO admin
-
Bookmarked Portal SSO URL
-
Network Portal login page using the SSO button
View the Network Portal
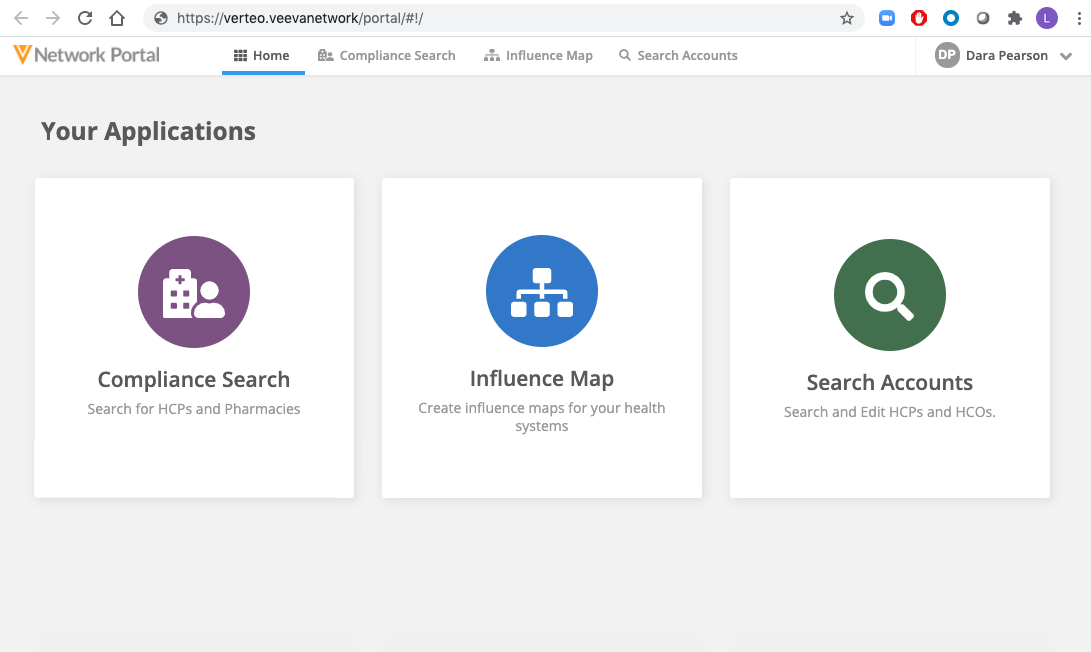
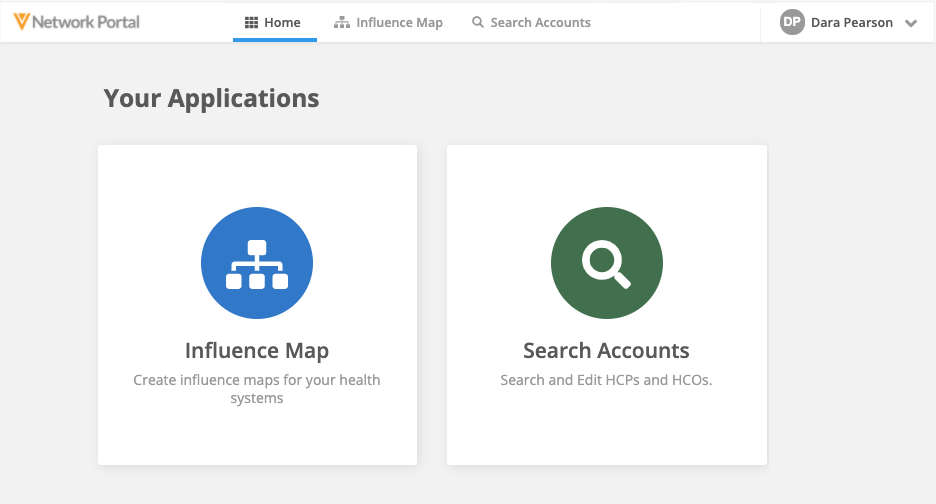
When the Network Portal opens, the default view is the Home page. This page contains all of the enabled applications that you have access to.
If there is only one app available, that app will be open by default. For example, when you log in, the Search Accounts application will be open.
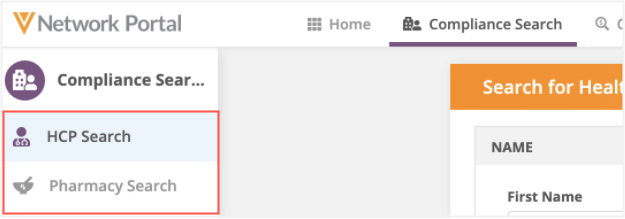
Navigation
Use the navigation bar at the top to navigate to another application or to go to the Home page to view all applications. The logo in the top left corner will also navigate to the Network Portal Home page.
Multiple widgets
An application can contain multiple . Use the tabs in the left panel to switch between widgets. Each tab (widget) has its own unique URL so you can bookmark the page.
User settings
You can view your Network Portal user settings. The settings are read-only but can be helpful to Veeva Support for troubleshooting issues.
-
In the top-right corner, expand the arrow beside your user name.
-
Click Settings.
-
On the General Settings tab, view your user name, language, locale, and timezone.
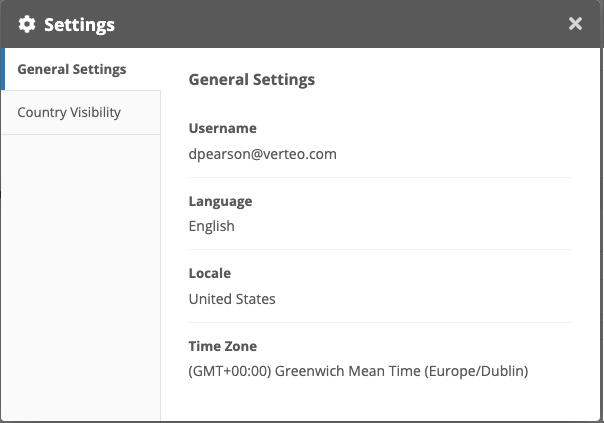
SSO users can view their language and time zone.
-
Click Country Visibility to view the countries that you have access to view records for. This is helpful to troubleshoot issues where you cannot access records from specific countries.
Log out of the Network Portal
-
In the top-right corner, expand the arrow beside your user name.
-
Click Logout.
Note: When Network users log out of the Network Portal, they are also logged out of the Network MDM UI if they were signed in.
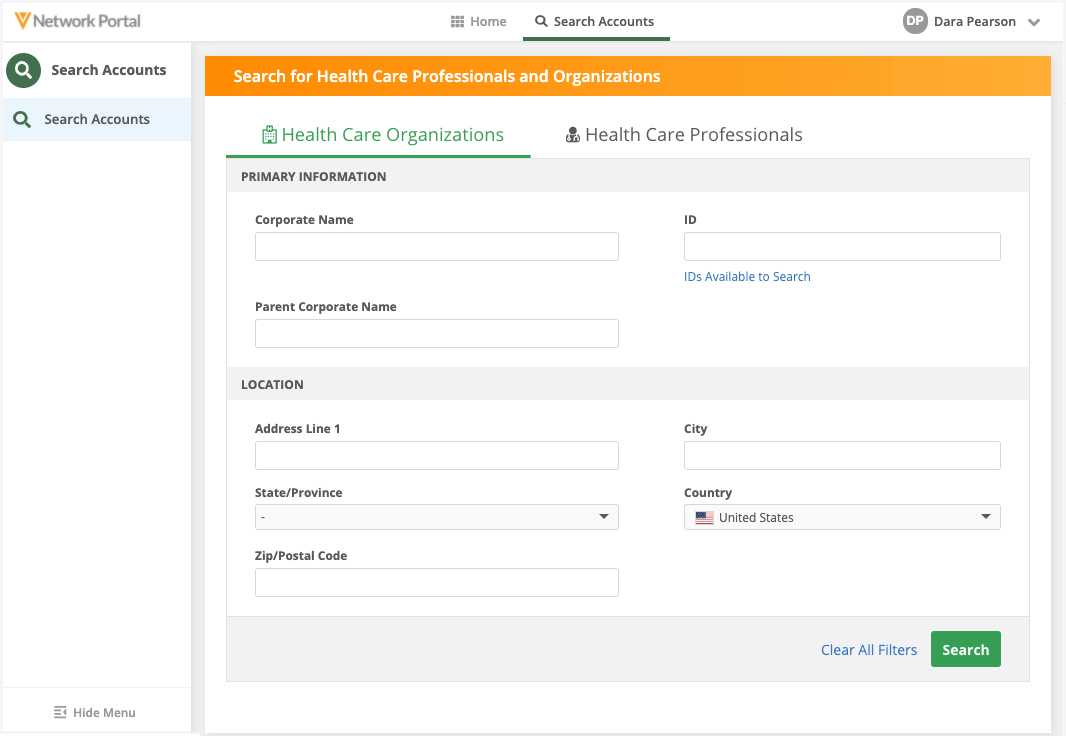
Search Accounts application
The Search Accounts application is available by default when the Network Portal is enabled. This application uses the Network MDM . You can search for HCO and HCP accounts, edit records (if you have edit access through your data visibility profile), and create new records.
Note: There is no option to download records from Veeva OpenData. If you click Edit to make a change to a record, the record will be downloaded from OpenData.
Search for accounts
Use the widget to search for HCP and HCO accounts. Click the Health Care Organizations and Health Care Professionals tabs at the top of the application to toggle between the two search forms.
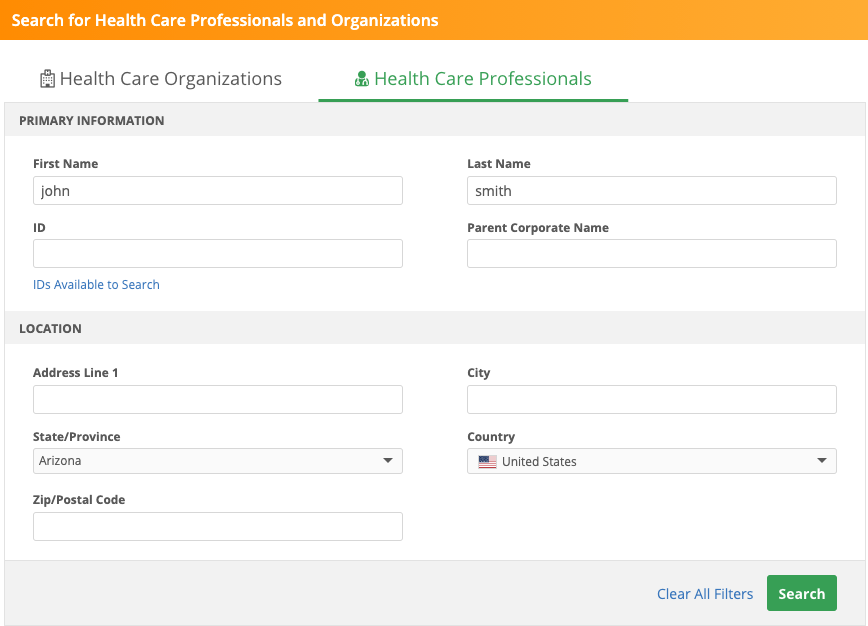
The search results display the accounts that matched the field values that you specified. You can continue to change or filter the results using the fields in the left panel.

For more information about searching for records, see Using the search widget.
Create a new account
If you cannot find an existing account that matches your search criteria, you can create a new one. On the search results page, click Create New.
When you submit the request, a confirmation message displays and includes the Network ID of the new account. Click Copy Task ID if you want to store your request somewhere locally for reference. Click the x icon to remove the message.

For more information about adding accounts, see Creating add requests.