Rejecting a suspect match
DM
DS
DS
A data steward's inbox only displays suspect matches that are assigned to either you or a group to which you belong. You can only reject a suspect match that is assigned to you. To reject a suspect match assigned to your group, you must first re-assign it to yourself.
To reject a suspect match:
- In your inbox, click suspect match. Be sure not to click the HCO or HCP name.
- At the top right corner of the suspect match, click the No Match button.
The Apply Suspect Match dialog appears.
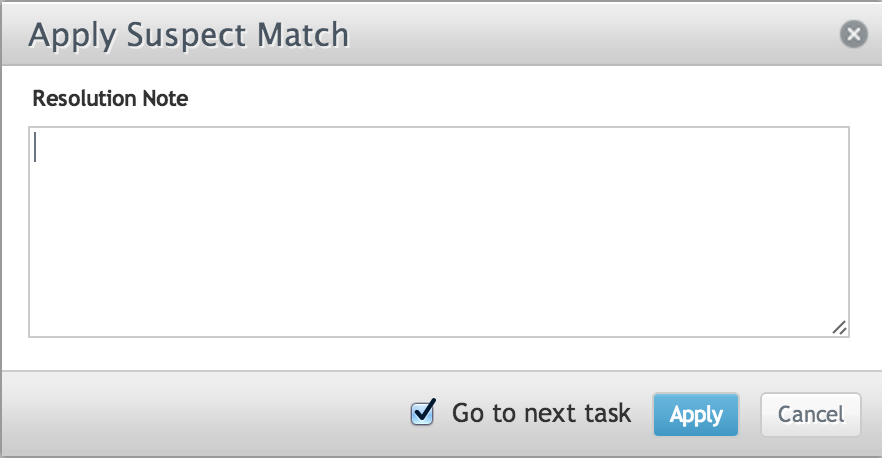
- Type a resolution note
 Comments that can be used by data stewards to explain the rejection or approval of a data change request. to explain the rejection.
 - Select the Go to next task checkbox if you want to open the next task after you apply the change.
- Click Apply.
Depending on whether you chose to display the next task, the next task or the inbox appears and displays a message that the suspect match has successfully been rejected.
Rejecting suspect matches in bulk
Suspect matches can be rejected in bulk using a DCR Cleanup operation. For more information, see Cancel or reject DCRs in bulk.