View existing profile validation rules
DM
In your Network MDM instance, several predefined profile validation rules are provided for Veeva standard objects but they are not enabled by default. You can use these rules as they are, modify them for your purposes, or use them as examples to create new rules. Rules are sorted by their enabled state and then by rule name.
View the rules
When custom main objects and sub-objects are enabled in your Network MDM instance, they will automatically display in the list on the Profile Validation Rules page; data does not have to be loaded into the object before they display. Rules are not automatically created for new custom objects; they must be defined.
To see the list of profile validation rules, in the Admin console, click System Interfaces > Profile Validation Rules.
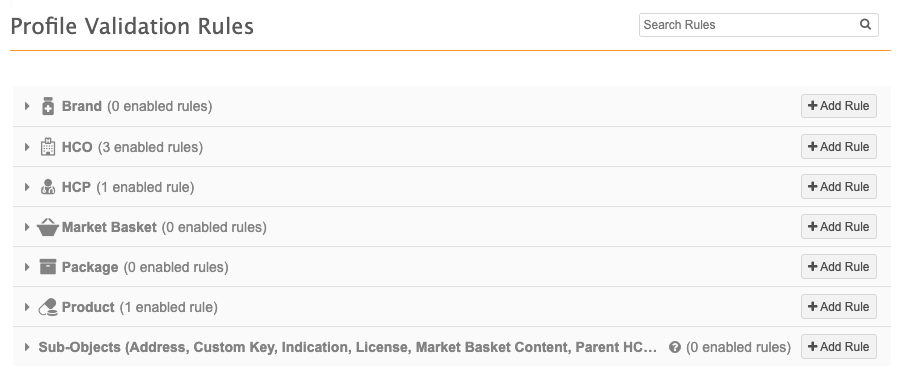
There is a section for each main object and one section for sub-objects and relationship objects.
- HCP - Rules that apply to HCP records and their sub-objects and custom keys only.
- HCO - Rules that apply to HCO records and their sub-objects and custom keys only.
- Custom objects - Rules that apply to that custom object record and its sub-objects and custom keys only. Custom objects display on the Profile Validation Rules page as soon as they are enabled in your Network MDM instance.
-
Sub-Objects - Rules where the sub-object or field applies to all records (HCP, HCO, and custom objects). If you add a new custom object that uses an existing sub-object, the existing rules will apply to those custom object records too. For example, if you add a Payer custom object and it uses the Address sub-object, all existing profile validation rules for addresses will also apply to the Payer records. Also, use for creating rules only for sub-objects: Address, License, and Parent HCO, and custom sub-objects and relationships.
Each object section is collapsed by default. Expand the section to see the rules for that object.

For any rule, the following activities are available:
- Enable and disable - Activate the rule. In the row for the rule, click the red x in the Enabled column. The icon changes to a green check mark when the rule is enabled. Click the green check mark icon to disable the rule. All predefined rules are disabled by default.
- Modify - Change the rule so that it applies to your Network MDM instance; for example, change the country. Click the rule to expand it so that you can customize it. Save your changes.
- Copy - Use an existing rule to create a new rule using similar formats. Hover over the rule until a Options icon
 displays. Click the icon and select Copy. In the Copy Rule message, click Continue. Customize the rule for your Network MDM instance and Save your changes.
 - Delete - Remove the rule from your Network MDM instance. Hover over the rule until a Options icon displays. Click the icon and select Delete.