Network Portal settings and permissions
System Administrators and System and Data Admin users can customize the Network Portal settings and user permissions.
Customize the settings
-
On the Admin console, click Widgets & Portal > Network Portal.
This new tab does not display for Data Manager users; the access to configure Network widgets has been removed for this user type. -
On the Network Portal page, click Settings and Permissions.
-
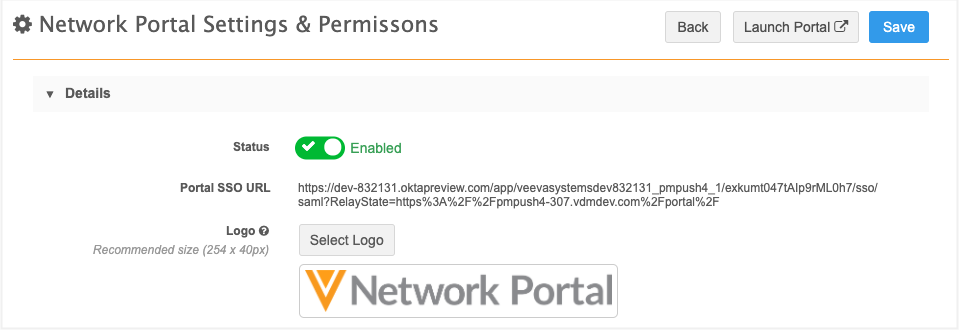
In the Details section, you can update the following settings:
-
Status - By default, the Network Portal is disabled. Toggle the button to enable it; all applications can be enabled.
If you disable the Network Portal, the applications will also be disabled.Important: The associated widgets will not be disabled because they might be used in your other downstream integrated systems.
-
Portal SSO URL - If single sign-on is configured for your Network instance, the read-only URL displays.
This can be used to provide a link in an internal website to the Network Portal where users can be signed in automatically through SSO. It can also be used to set up a bookmark application for your SSO provider. -
Logo - The Network Portal logo displays by default. Click Select Logo to add your custom branding.
The logo displays on the login page and in the Network Portal.If you have overwritten the default logo, you can save it locally and apply it to the Network Portal again.
-
-
Use the Permissions section to grant access to the Network Portal. By default, All Users Except Integration Users is selected. This is a system managed user group that includes all active users in your Network instance except Integration Users. Integration Users cannot access the Network UI or Network Portal UI.
To provide more granular access to the Network Portal, click Specific Users / User Groups.
The User Groups and Users sections become active so you can configure user access.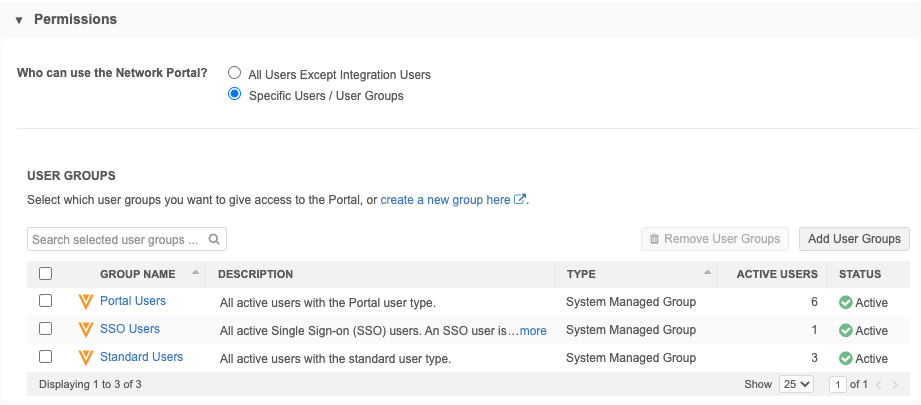
-
In the User Groups section, choose the user groups that should have access to the Network Portal. You can choose system managed groups or existing custom groups in your Network instance.
Note: The All Users and Integration Users user groups will not be available in the list.
To define a new group for this application, click Create a new group here to open the User Groups page in a new browser window.
When a group is added, a group Description, Type, count of Active Users in the group, and Status displays in the list. -
In the Users section, choose the users that should have access to the Network Portal.
When a user is added, their User Type, Status, Security Profile, Profile (data visibility profile), and Inbox Task Groups display in the table.
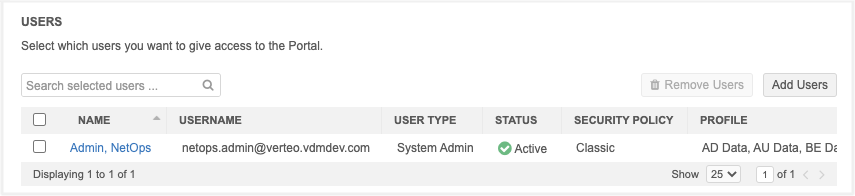
You can remove users and user groups if necessary.
If a user or user group is disabled, they will no longer have access to the Network Portal. If the Network Portal is disabled and becomes enabled again, users with previous access will regain functionality; the same settings will be retained.
-
In the Login Page Settings section, choose to add the SSO button on the Network Portal login page. You can also define your own label for the SSO button. By default, the English label is Login With Single Sign-On. This is available if SSO is enabled in your Network instance.
-
Save your changes.
Click Launch Portal to open the Network Portal.