Saving inbox views
DM
DS
You can customize your inbox and save the changes as a view to more easily manage different types of tasks. For example, you can create separate views for change requests, add requests, and suspect matches. You can toggle between the views depending on the type of task you're working on. Administrators can create views to organize tasks of different data loading jobs.
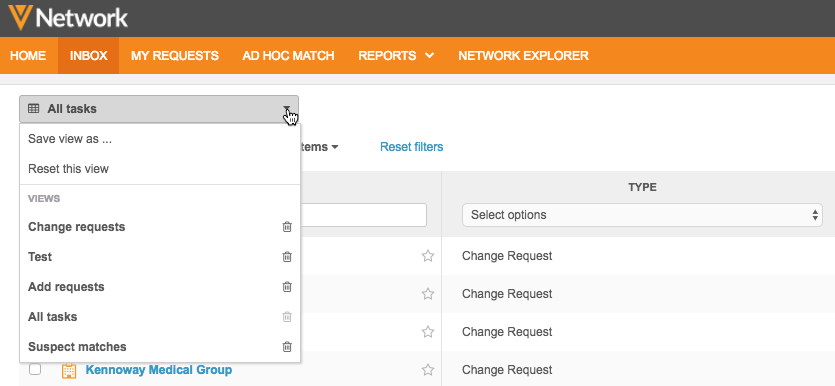
Saved inbox views apply to each user; views cannot be shared among users.
Enabling this feature
This feature is enabled by default for new customers. Existing customers can enable the feature for their Network instance.
- In the Admin console, click Settings > General Settings.
- Click Edit.
- In the User Interface Options section, select Inbox View.
-
Save your changes.
Now, when data stewards, data managers, and administrators log into this Network instance, they can create inbox views. If users do not create views, the default inbox behavior does not change.
Creating inbox views
Any change that you make to the inbox configuration can be saved as a view. This includes filtering and resizing columns, sorting, defining the number of records displayed, and so on. You can create a maximum of fifty views.
Note: When you start creating views, the default Network inbox behavior is no longer available to return to. The inbox will default to the view that you were last using when you logged out of Network.
To create a new view:
- Customize the inbox with the data and configuration that you want to save.
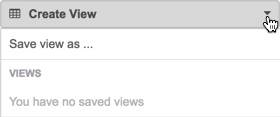
- In the top left corner of the inbox, click Create view > Save view as ....
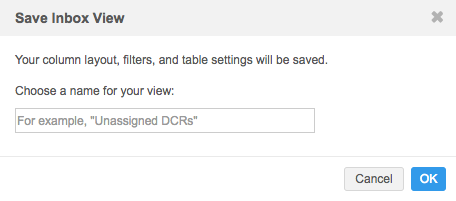
- On the Save Inbox View dialog box, type a name for the view.
The name cannot be longer than 80 characters.
If you have previously created a view, the Save Inbox View dialog box is different.
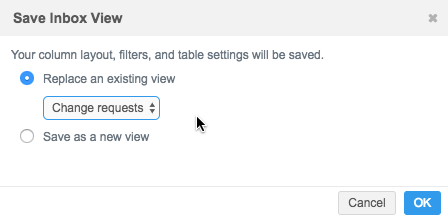
Select the appropriate option.
- Replace an existing view - Overwrite an existing view with these changes. Select the view from the list.
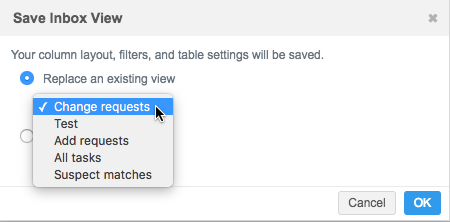
- Save as a new view - Create a view with a new name.
- Replace an existing view - Overwrite an existing view with these changes. Select the view from the list.
- Click OK.
When a view is saved, the inbox displays the view. If you navigate to a different page and then return to the inbox, the last view that you used displays.
Select saved views
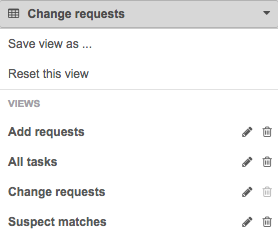
You can switch between views by expanding the current view and selecting a new view from the list. All views are listed alphabetically.
Update views
When you make changes to a view (for example, sorting or filtering), a message displays beside the view name to remind you to save the changes. Click Save changes.

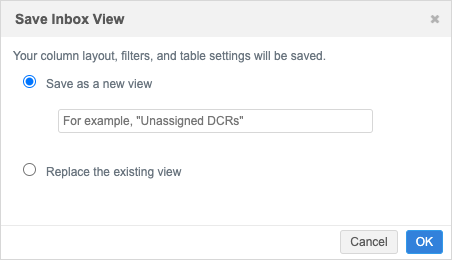
On the Save Inbox View pop-up, choose one of the options:
-
Save as a new view - Create a new view. The column layout, filters, and table settings from the current view will be saved to the new view. This is the default option.
-
Replace the existing view - Update the current view with these changes.
If the view changes are not saved, the changes are persisted for your Network session. You can navigate to a different page but still see unsaved changes when you return to the inbox. If you log out of Network and log in again, unsaved changes are lost.
Reset views
You can make changes to a view and then reset the view to return to the saved configuration. For example, if you sort or filter columns, but don't want to save the change, click Reset this view to revert the changes.

Edit view names
You can edit view names to correct a mistake or adjust the name to reflect changes. To edit the name, click the Pencil ![]() icon.
icon.
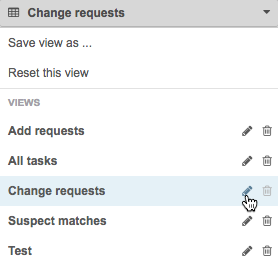
Edit the name and Save your changes. Network validates that an existing view does not have the same name.
Delete views
When views are no longer required, they can be deleted by selecting the Delete ![]() icon in the list. The Delete icon for the current view is dimmed and cannot be deleted. This ensures that the inbox always has one saved view.
icon in the list. The Delete icon for the current view is dimmed and cannot be deleted. This ensures that the inbox always has one saved view.

Auditing
Network tracks views that are created, updated, and deleted and records the actions. Administrators can see the audit logs by navigating to Logs > System Audit History.
