Branding settings
AD
Administrators can add a custom logo to your Network MDM instance or to email banners sent from the Network MDM account.
-
In the Admin console, go to Settings > Branding Settings.
Specify a custom header logo
The custom header logo appears at the top of the site. For best results, the specifications for the custom logo should be as follows:
- PNG, JPG, or GIF format
- 280 pixel height by 2800 pixel width maximum
- Aspect ratio of 1:10 or less
- File size no greater than 10MB
- Transparent background for light colored logos
- No padding or margins
To use your custom header logo:
- In the left navigation, click Branding Settings.
- At the bottom of the Header Logo section, click Edit.
- Select the radio button for the logo you want to enable:
- Default Logo enables the default Network MDM logo.
- Custom Logo enables you to specify a custom logo. If you select this option, you must click the Choose File button and navigate to the image you want to use.
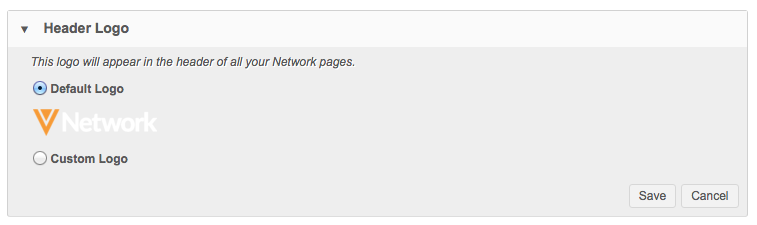
- At the bottom of the Header Logo section, click Save.
Specify a custom email banner
When enabled, the email banner appears in all emails from the Network MDM account. For best results, the specifications for the custom banner should be as follows:
PNG, JPG, or GIF format
800 pixel height by 6000 pixel width maximum
Aspect ratio of 1:7.5 or less
File size no greater than 10MB
- PNG, JPG, or GIF format
- 800 pixel height by 6000 pixel width maximum
- Aspect ratio of 1:7.5 or less
- File size no greater than 10MB
To use your custom banner:
- In the left navigation, click Branding Settings.
- At the bottom of the Email Banner section, click Edit.
- Select the radio button for the banner you want to enable:
- Default Email Banner enables the default Network MDM banner.
- Custom Email Banner enables you to specify a custom banner. If you select this option, you must click the Choose File button and navigate to the image you want to use.
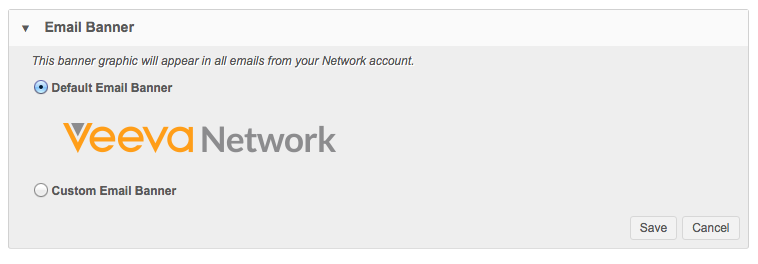
- At the lower right of the Email Banner section, click Save.