OpenData communications
DM
You can view and manage communications from Veeva OpenData in your Network MDM instance. This feature centralizes all notifications from the OpenData team so you can track information and activities and take any required actions.

This feature is enabled by default in your Network MDM instance.
Highlights
-
Notifications are sent to you only about the countries that you subscribe to and that are enabled in your Network MDM instance.
-
A predefined user group, OpenData Communication Subscribers, is added to help Administrators manage the users that should receive OpenData communications.
-
Emails are sent to subscribed users with links to view the full communication in Network MDM.
-
Attachments are not included in Veeva OpenData communication emails so they cannot be misplaced.
Receiving notifications
Users that are subscribed to receive OpenData communications will receive emails from OpenData from the following address: opendata-emails@opendata.veeva.com.
The email notifies you about OpenData activities that you should be aware of or that you should action. The email contains the text of the communication and a link to view the full message in Network MDM. Attachments are not included in the email.
Example email
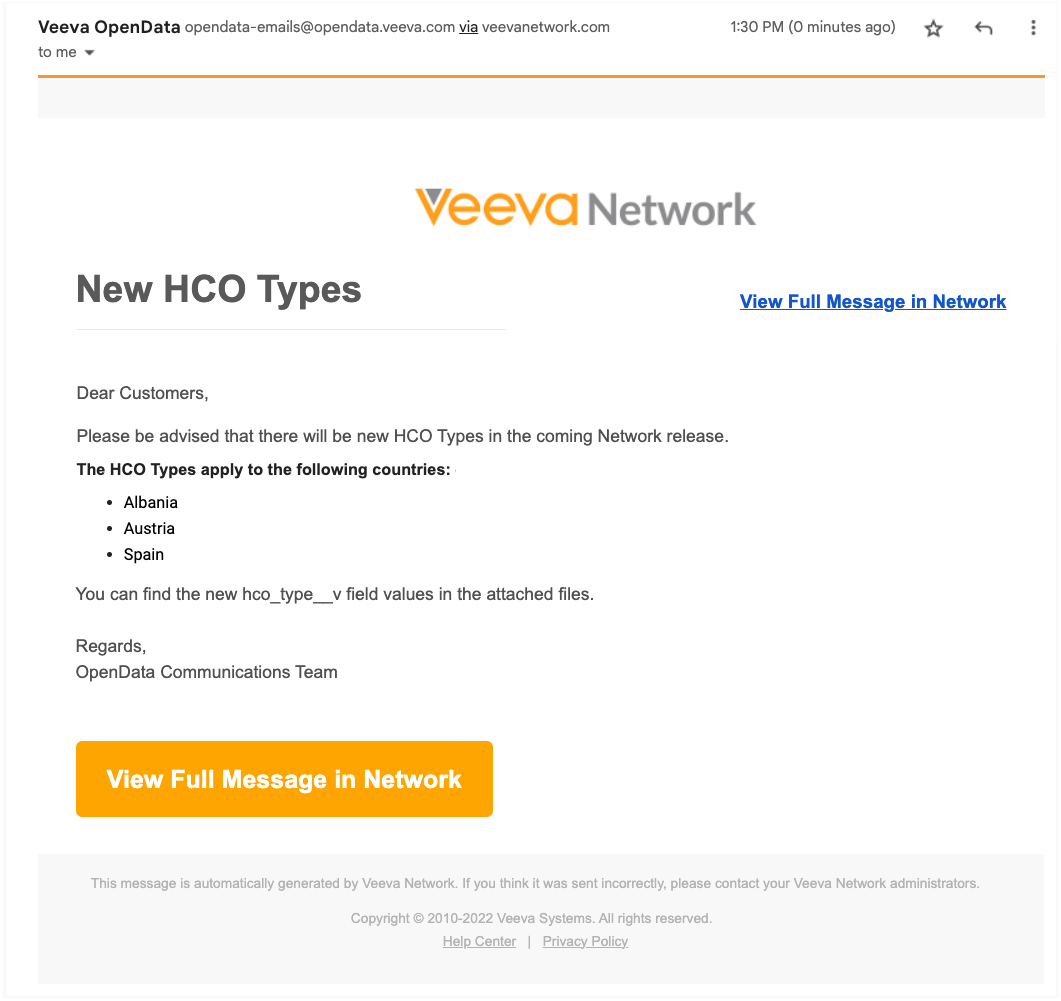
When you click View Full Message in Network, the communication opens in the Network MDM application. Log in with your credentials if you are not already logged in.
View communications
The full message and all attachments are available in the communication.
For each communication, the following details display:
-
Name - The name that OpenData defined for the communication.
-
Subject - The email subject.
-
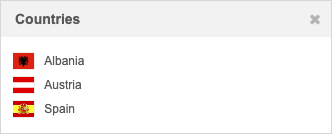
Countries - The countries that the communication applies to.
If there is one country, the country name displays. If multiple countries are selected, a count of countries displays. Click the count to display a pop-up of the countries.
-
Time Sent - The date and time (in your local timezone) that the communication was sent by the OpenData team.
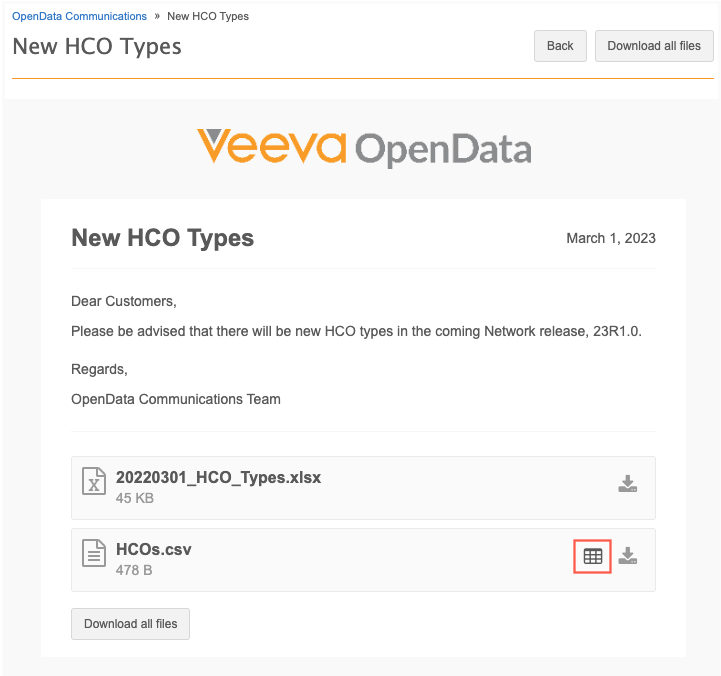
Example communication

Downloading files
OpenData teams can include Microsoft® Word®, Adobe® PDF, .csv, and and Microsoft Excel® (.xlsx) files in communications.
Attachments are sorted alphabetically in communications.
You can download files in an OpenData communication even if you do not have FTP access.
-
Click Download all files or use the Download button on a file to download it individually.
Click Back to navigate to the OpenData Communications page.
Files sent in OpenData Communications can be opened in a Network MDM table so you can understand the content of the files and how it might affect the data in your Network MDM instance.
Note: Network tables are supported for .csv files only.
This enhancement is enabled by default in your Network MDM instance
Opening files as Network tables
The Network Table![]() icon displays beside .csv files. Click the icon to open the file in a new browser tab. Use the table to view, filter, and even augment the data.
icon displays beside .csv files. Click the icon to open the file in a new browser tab. Use the table to view, filter, and even augment the data.
Displayed records
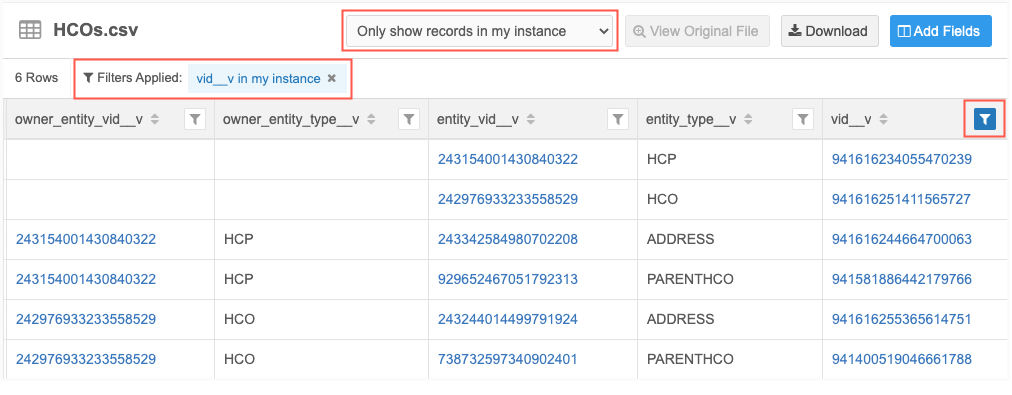
If the .csv file contains a column called vid__v, the Network table opens with the Only show records in my instance filter applied. This enables you to immediately view the records that are relevant to your Network MDM instance.
When the file is filtered, the filter is indicated at the top of the file and on the relevant column. If you download the table, only the filtered data is downloaded.
Available filter options:
-
Show all records - All records in the Network table display.
-
Only show records in my instance - Display only the rows in the file where vid__v values are in your Network MDM instance.
Includes opted out records that have been downloaded to your Network MDM instance.
-
Only show records not in my instance- Display only the rows in the file where vid__v values are in the OpenData instance; not in your Network MDM instance.
This includes OpenData records that you have unsubscribed from (record state = DELETED).
Tip: If no records display when the file opens, it means that none of the records are in your Network MDM instance. Change the option to Show all records to view the records.
If the file does not contain a vid__v column, all records in the file display by default. The options to filter the records do not display.
OpenData Communications page
Use this page to view and manage all of the communications that you receive from OpenData in your Network MDM instance.
To open the page:
-
In the Admin console, click System Interfaces > OpenData Communications.
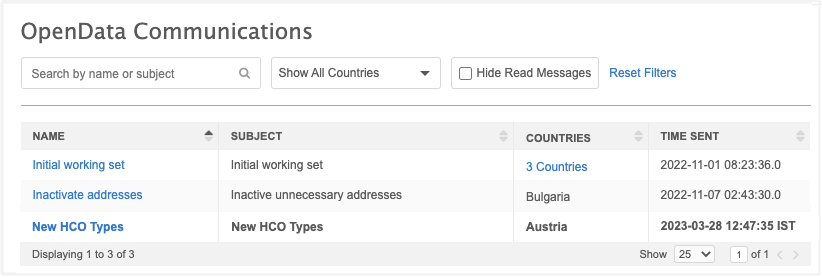
All of the messages that you receive from OpenData display on the page in alphabetical order. Messages that have not been read yet display as bolded text.
For each communication, the following details display:
-
Name - The name that OpenData defined for the communication.
-
Subject - The email subject.
-
Countries - The countries that the communication applies to.
If there is one country, the country name displays. If multiple countries are selected, a count of countries displays. Click the count to display a pop-up of the countries.
-
Time Sent - The date and time (in your local timezone) that the communication was sent by the OpenData team.
Finding communications
To find a specific message, use one of the following methods:
-
Search - Use the search bar to find a communication by name, subject, or the time it was sent.
-
Show All Countries - Expand the list to filter the page by country. By default, all countries display.
-
Hide Read Messages - Click to quickly find new messages.
-
Sort - Sort the table using any of the columns.
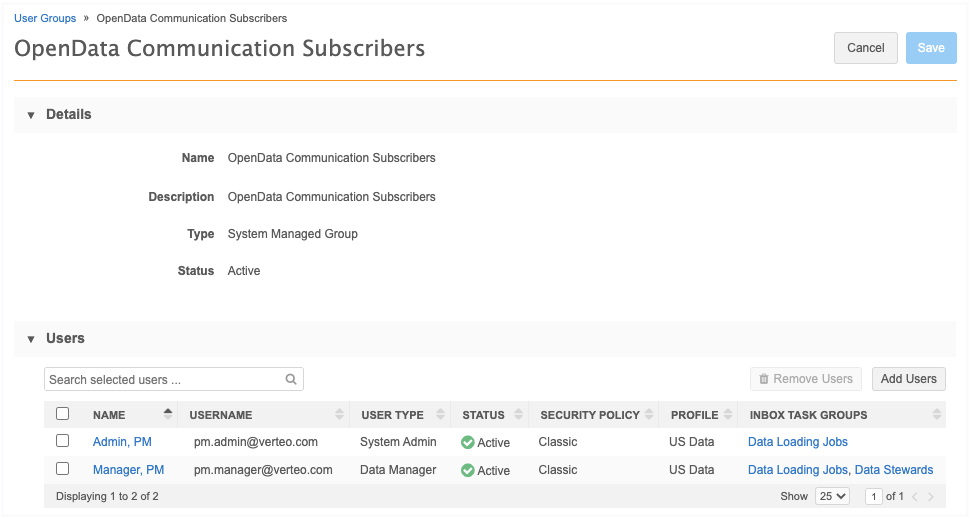
OpenData Communications subscribers
To manage subscribers, Administrators can add users to a predefined user group called OpenData Communication Subscribers. The users that Administrators add to this user group will receive the emails sent by the OpenData team.
Note: Administrators, Data Managers, and System and Data Admin users can be added to the user group. These are the only users that have access to the OpenData Communications page in the Admin console.
To add subscribers:
-
In the Admin console, click Users & Permissions > User Groups.
-
On the User Groups page, click the OpenData Communication Subscribers group.
No users are added to the group by default.
-
Click Add Users and select the users that should receive OpenData emails.